


(Discover many other contents on: NOWO.ONE)
When I was seven, my grandfather’s Nativity scene had a plastic pink flamingo in the background – he claimed even the Holy Family would have welcomed the unexpected. That oddball touch stuck with me, and now, building a Nativity scene isn’t just a routine; it’s a chance to tell a wild, miniature story. Whether you’re all about historical accuracy or sneaking in something outlandish, this guide is for dreamers of all stripes. Let’s get real (and a little weird) about Nativity accessories.
Size Matters (and Sometimes Surprises): Choosing the Right Scale
If you’ve ever tried to build a lifelike Nativity scene, you know that choosing the right scale for figurines is the first—and possibly most important—decision you’ll make. It’s not just about making everything “fit.” The Nativity Figurines Scale you pick sets the tone for your entire display, from the stable to the tiniest basket of bread. But don’t worry—matching scales isn’t as boring as it sounds. In fact, it can lead to some of the most memorable (and even quirky) moments in your holiday decorating.
Why Matching Scales Isn’t as Boring as It Sounds
Let’s be honest: we’ve all seen a Nativity scene where the sheep tower over the shepherds or a donkey looks like it could carry the whole Holy Family on its back. While these mix-ups can be accidental, sometimes they’re the most talked-about part of the display. As Claudia Rossi once said,
"One modern Nativity I saw had a tiny cat figurine next to a camel—honestly, it made the whole scene."
It’s a reminder that, while harmony is key, a little surprise can add charm and personality to your presepe.
Common Figurine Sizes: What Do They Really Mean?
When it comes to Choosing Scale for Figurines, manufacturers usually offer three main sizes:
6 cm – Perfect for small, tabletop Nativities. These are ideal if you’re short on space or want a scene for a desk or shelf.
10–12 cm – The classic, medium-sized set. This is the most popular scale and works well for a mantelpiece or sideboard display.
15–20 cm – Large, scenic displays. These figurines are for those who want to make a statement, perhaps as a centerpiece in a living room or church.
Here’s a quick reference table:
Scale | Best For | Display Size |
|---|---|---|
6 cm | Tabletop, small shelf | Compact |
10–12 cm | Classic mantelpiece | Medium |
15–20 cm | Large scenic display | Expansive |
Matching Structures and Accessories to Scale
Once you’ve chosen your Scale and Size of Figurines, it’s time to match everything else. This means your stable, houses, bridges, wells, and even tiny tools should all be in proportion. Most reputable manufacturers will specify if an accessory is “for 10 cm figurines,” for example. Trust me, nothing throws off the realism faster than a well that’s taller than the angel!
Here’s a quick checklist:
Check packaging for scale compatibility.
Group accessories by size before placing them in your scene.
Use natural materials (like moss, bark, and straw) in the same scale for added realism.
When to Break the Rules: Playful Mismatches and Forced Perspective
While harmony is important, don’t be afraid to play with scale for creative effect. A slightly oversized tree or a miniature animal can draw the eye and add whimsy. Some artists even use forced perspective—placing smaller figurines or structures in the background—to make the scene feel deeper and more dynamic. If you do it intentionally, mixing scales can be a clever trick rather than a mistake.
So, whether you’re a stickler for proportion or love a quirky surprise, remember: Nativity Figurines Scale is your secret tool for building a scene that’s not just realistic, but also full of personality.
The Bones of the Scene: Getting Creative with Structures and Materials
When it comes to Nativity Scene Construction, the real magic starts with the “bones” of your display—the structures and materials that form the foundation of your miniature world. Whether you’re a traditionalist or a wild inventor, choosing the right Nativity Scene Materials is the first step to creating something truly memorable.
Choosing Your Main Structures: Classic Stable, Cave, or Something Wild?
The centerpiece of any Nativity scene is usually the stable or cave. Traditionally, these are crafted from wood, cork, or resin, each offering a different vibe. Wood brings warmth and a rustic touch, cork is lightweight and easy to shape, and resin offers durability and detail. But don’t feel boxed in by tradition—some of the most charming scenes I’ve seen use caves made from bark, or even whimsical “stables” built from driftwood or recycled cardboard.
Beyond the stable, think about adding houses, shops, and bridges to create a bustling village. Bakeries, carpenter’s shops, and merchant stalls not only add realism but also tell a story. If you’re a DIY enthusiast, there are plenty of DIY Nativity Kits out there, often featuring cork or polystyrene panels you can decorate yourself. These kits are a great way to get started, especially if you want to personalize every detail.
Natural Materials for Nativity: Why Cork, Bark, and Moss Feel So Cozy
For me, the secret to a lifelike scene is using Natural Materials for Nativity. Cork, bark, and moss are my go-to choices—they’re easy to work with, lightweight, and give your scene that authentic, earthy feel. Cork sheets, in particular, are a lifesaver. As Matteo Bianchi says:
'Cork sheets have saved me more times than I can count—staple for anyone building a scene from scratch.'
Cork panels are perfect for building walls, roofs, and rocky landscapes. Bark adds rugged texture, while moss and lichen make roofs and ground cover look lush and real. Just be careful with what you grab from your backyard—avoid anything too shiny, artificial, or treated with chemicals. I once tried using glittery craft moss, and it just didn’t have the same cozy vibe.
Personal Confession: The Shoebox Stable That Started It All
I’ll let you in on a secret: my very first stable was made from a shoebox. I cut out a door, glued on some twigs for beams, and used bits of old fabric for the roof. It was simple, but it worked—and it taught me that you don’t need fancy supplies to create something special. Recycled materials like cardboard, egg cartons, and scrap wood are perfect for creative DIYers. In fact, many DIY Nativity Kits recommend using recycled items for a unique, eco-friendly touch.
Hidden Gems: Where to Buy or DIY Quirky Backgrounds and Buildings
If you’re looking to expand beyond the basics, there are hidden gems everywhere. Craft stores often carry miniature accessories and cork sheets year-round. Online shops offer everything from pre-made resin houses to full DIY kits. For backgrounds, you can paint your own starry sky on cardboard, print a landscape, or even use wrapping paper for a festive touch. Don’t overlook the power of a well-chosen backdrop—it sets the mood and brings your whole scene together.
Pro tip: Cork panels and moss are usually found in the floral section of craft stores.
Polystyrene is great for lightweight hills and mountains—just paint and add moss.
Recycled materials like shoeboxes and cardboard make excellent bases for buildings.
With the right mix of natural materials, a dash of creativity, and a willingness to experiment, your Nativity scene can become a quirky, lifelike masterpiece—no matter what time of year you build it.
Light It Up: Lighting and Atmosphere Beyond the Obvious
When it comes to building a lifelike Nativity scene, lighting is the secret ingredient that transforms a simple display into a magical, immersive world. Over the years, I’ve learned that lighting options for Nativity scenes are about much more than just making things visible—they set the mood, guide the viewer’s eye, and create atmosphere that feels truly alive. Let’s dive into how you can use lighting effects and sound to elevate your presepe from ordinary to unforgettable.
Different Lights, Different Moods
Think of your Nativity scene as a tiny stage. The right lighting tells your story:
Warm white LEDs for the Holy Family and stable—these create a gentle, sacred glow that draws attention to the heart of your scene.
Amber or orange lights in houses and shops—these mimic firelight and lanterns, making the village feel cozy and alive with daily life.
Blue LEDs or fiber optics for the sky—perfect for a peaceful, starry night effect above your display.
I love how these simple choices can instantly shift the mood. As Samuel Green once told me,
"The moment I dimmed everything but the stable, my friends were speechless."
That’s the power of focused lighting—suddenly, the Nativity becomes the scene’s emotional center.
Quick Hacks for Creative Lighting
You don’t need fancy equipment to get started with lighting effects. When I’m short on specialty bulbs, I reach for:
Fairy lights: Tuck them behind buildings or under moss for a soft, scattered glow.
Phone flashlights: Place your phone under the stable roof for a quick, dramatic spotlight during a gathering.
Battery-powered tea lights: Great for simulating campfires or lanterns in a pinch.
These quick fixes are perfect if you’re building your scene last-minute or want to experiment before investing in more advanced lighting options for Nativity displays.
Drama Alert: Dynamic Effects
Want to make your scene truly come alive? Add dynamic lighting effects and moving elements:
Flickering bulbs for campfires and braziers—these mimic real flames and add warmth.
Running water with tiny pumps—combine with blue LEDs for sparkling streams or wells.
Turning mill wheels or moving animals—motorized accessories catch the eye and create a sense of bustling life.
Pairing lighting effects and sound—like a gentle water trickle or soft animal noises—can take your atmosphere to the next level. Just remember, subtlety is king. Too many moving lights or loud effects can turn your Nativity into a “disco presepe,” which distracts from the story you want to tell.
Creating Atmosphere: The Art of Subtlety
One of the best tips I’ve learned is to adjust brightness to guide attention and create depth. Use brighter lights on the Holy Family and softer glows in the background. This not only highlights the main action but also makes your scene feel layered and realistic.
Sometimes, less is more. A single, well-placed spotlight or a gentle fade from dusk to night (using a fading unit or dimmer) can be far more powerful than a dozen bright bulbs. The goal is to create atmosphere, not overwhelm it.
With the right mix of lighting options for Nativity scenes, dynamic effects, and a little creativity, you can craft a display that’s not just seen, but truly felt.
Accessorize Wildly: Details That Invite Closer Looks
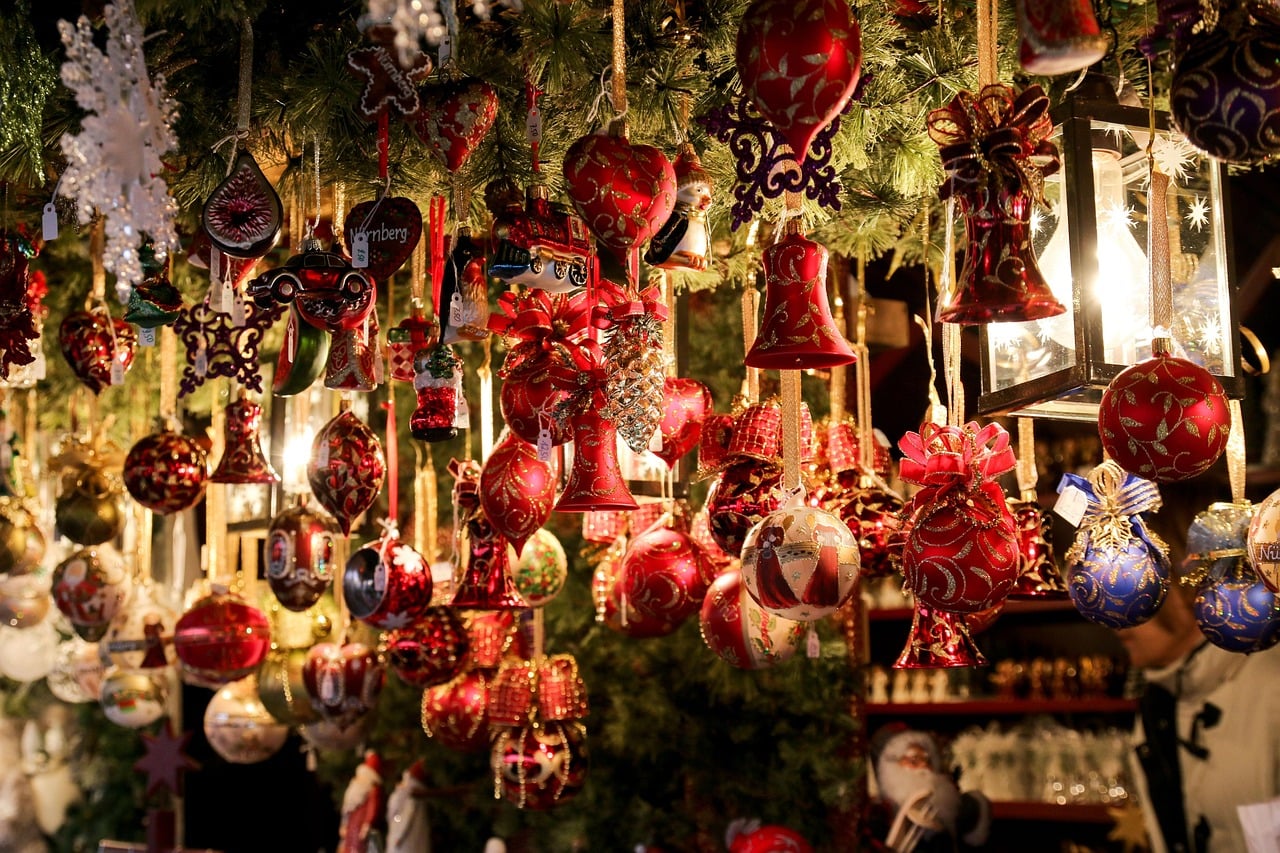
When I first started building Nativity scenes, I thought the main figures—the Holy Family, the Wise Men, the shepherds—were all that mattered. But over time, I’ve learned that it’s the miniature accessories and natural materials for Nativity that truly bring a scene to life. These tiny details invite people to lean in, smile, and spot something new every year. In fact, I’d argue that baskets, loaves, and tiny animals are often more memorable than the Wise Men themselves!
Why Baskets, Loaves, and Tiny Animals Matter
There’s a special magic in discovering a miniature basket of apples or a tiny loaf of bread tucked into a corner of the stable. As Italian artisan Lucia Petrelli says:
'No accessory says "welcome home" like a miniature loaf of bread.'
These small props—be it a wooden bucket, a pile of firewood, or a flock of sheep—create a sense of everyday life and warmth. They make the Nativity feel lived-in and real, not just a static display. In my experience, guests (especially children) are drawn to these details, often pointing out a hidden chicken or a clever arrangement of tools before they notice the grander figures.
Easy Win: Affordable Multipacks of Miniature Accessories
If you want to boost the realism of your Nativity without breaking the bank, look for Nativity Scene Accessories sold in multipacks. Most sets include 10–15 pieces—think hammers, baskets, amphorae, food, barrels, ropes, fences, and a variety of animals. These packs are an easy way to add visual richness and variety, and you can mix and match them each year for a fresh look.
Miniature tools: Hammers, saws, scythes, and buckets
Food items: Bread, cheese, fish, fruit, and vegetables
Everyday objects: Barrels, sacks, amphorae, baskets
Animals: Sheep, oxen, donkeys, chickens, camels
Don’t underestimate the impact of a tiny fence or a well-placed barrel—these details create stories within your scene, sparking curiosity and conversation.
Storycraft: Family Traditions and Playful Additions
One of my favorite parts of accessorizing is letting kids (and adults!) add something unexpected each year. In my family, the “Nativity chicken” has become a running joke—every Christmas, someone sneaks a chicken into a new spot, and it’s up to the rest of us to find it. These playful touches become cherished traditions and make the scene uniquely yours.
Encourage everyone to contribute: maybe a child wants to add a tiny dog, or someone crafts a miniature broom from twigs. Over time, these additions tell the evolving story of your family as much as the Nativity itself.
Keeping It Natural: Moss, Wood, and Soil for Realism
For the most authentic look, I always use natural materials for Nativity details. Moss, lichen, real wood scraps, straw, gravel, and even a sprinkle of soil can transform a flat display into a vibrant landscape. These materials not only look more realistic, but they also add texture and depth, making your scene feel warm and inviting.
Moss and lichen: For roofs, hills, and ground cover
Wood and bark: For walls, fences, and firewood piles
Straw and gravel: For stable floors and pathways
Soil and sand: For roads and rustic settings
Remember, natural materials realism is all about subtlety—avoid anything too shiny or artificial. The goal is to create a scene that feels like a snapshot of real life, inviting closer looks and sparking imagination.
When You Want to Go Big: Advanced Features and Ambitious Displays
If you’ve ever gazed at a simple Nativity scene and thought, “What if the river actually flowed, and the windmill really turned?”—you’re not alone. For me, the real magic of a realistic Nativity scene comes alive when I start experimenting with advanced features. Waterfalls, fountains, flickering fire bulbs, and even sound units can transform your presepe from a static display into a miniature world that feels truly alive. The good news? These ambitious touches are more doable than you might think—if you read the instructions and plan ahead.
Let’s start with the showstoppers: waterfalls, fountains, and working windmills. Today’s accessory market offers everything from tiny electric pumps for streams to motorized wheels and even programmable light and sound control units. Adding a real water feature, for example, is as simple as tucking a small pump behind a rock and running a clear tube to your “waterfall.” I learned the hard way, though, that testing is crucial. As Pietro Marino wisely put it:
“After my first water pump fiasco, I learned: Test everything before Christmas Eve.”
If you want to go even further, you can install flickering bulbs for campfires, or set up a bakery with a turning millstone and glowing oven. I’ll admit, my personal dream is to one day create a Nativity scene with a fully motorized bakery—complete with a baker who kneads dough and a glowing bread oven. I’m still plotting that one!
But before you get swept up in the possibilities, let’s talk about pricing for accessories. Advanced features for Nativity scenes can range wildly in cost. Simple electric pumps or flickering bulbs are quite affordable, but once you get into handmade miniatures, custom motorized parts, or programmable sound and light units, prices climb quickly. The material, craftsmanship, and complexity all play a part. For example, a hand-painted resin fountain with a working pump might cost three times as much as a plastic version. My advice? Splurge on one or two centerpiece features—like a real water stream or a moving windmill—and hack together the rest with DIY ingenuity. Not all moving parts are created equal, and sometimes a clever static display can be just as charming.
One pitfall I’ve learned to dodge: more tech isn’t always better. It’s tempting to add every bell and whistle, but crowding your scene with too many effects can actually take away from the magic. The best displays balance spectacle with harmony. Sometimes, a single glowing campfire or the gentle trickle of water is all you need to draw viewers in. Too many moving parts, flashing lights, or blaring sound can overwhelm the senses and distract from the peaceful spirit of the Nativity.
In the end, building a realistic Nativity scene with advanced features is about finding the right blend of ambition and coherence. Waterfalls, fountains, and sound units do bring your display to life, but thoughtful planning—and a little restraint—will ensure your scene remains both impressive and meaningful. Whether you’re dreaming of a fully motorized bakery or simply want to add the gentle glow of a fire, remember: the heart of the presepe is the story it tells. Make it magical, make it yours—and always test your water pumps before Christmas Eve.